
You might think opening a password-protected Word file is complicated, but it’s quite straightforward. Whether you’re using a newer version like Word 2010 or an older one, you can access your document with just a few steps.
When you need to open a password-protected Word document, the steps vary depending on your version of Word. If you’re using Word 2010 or later, the process is straightforward and user-friendly. For those with Word 2007 or earlier, you’ll find some differences in how to access your file.
Knowing how to navigate these options can save you time and frustration. Let’s explore the methods to gain access to your document securely and efficiently.
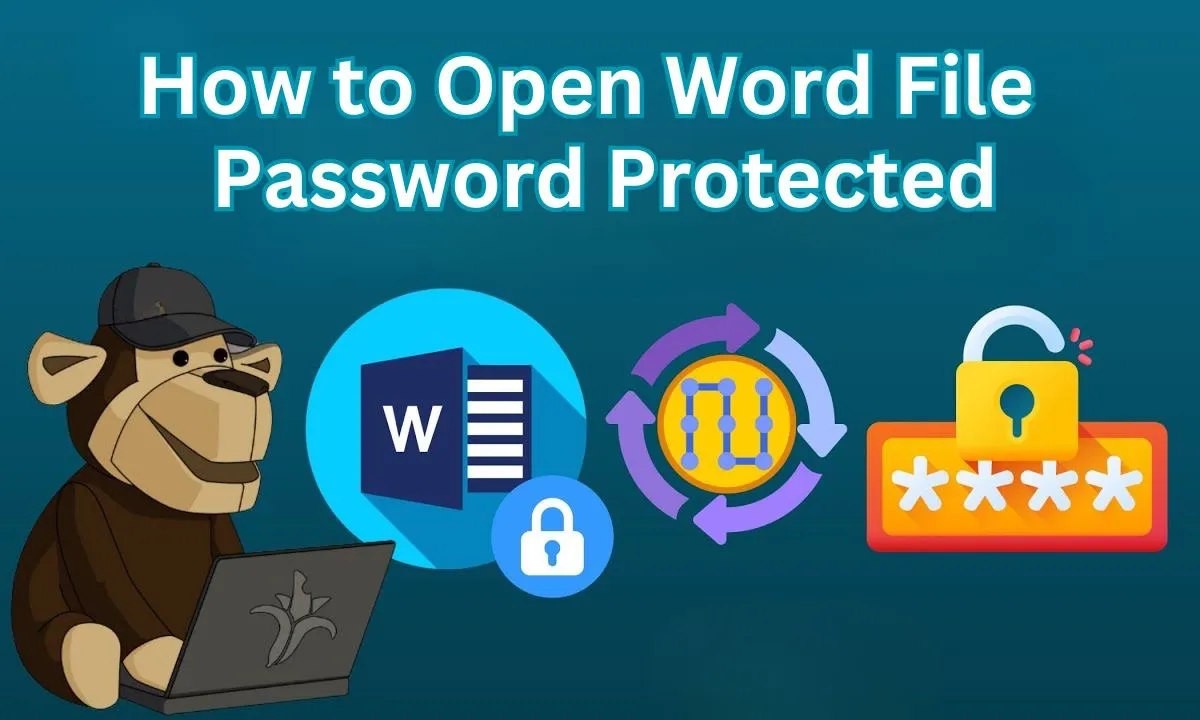
Opening a Password-Protected Word Document
Protecting your Word documents with a strong password is a great way to secure sensitive information. However, if you would like to open a password-protected Word file, the process varies depending on your version of Microsoft Word. Below are six key steps to unlock your document in different versions:
Using Word 2010 and Later
If you’re using Word 2010 or later, accessing a password-protected document is straightforward. Start by:
Step 1: Open the Document
Opening a password-protected Word document is a straightforward process. First, launch Microsoft Word on your computer. Then, select the password-protected file you want to open. You’ll be prompted to enter the password.
Type in the correct password and hit “Enter.” If successful, the document will open, allowing you to view and edit its contents as needed.
Step 2: Access the Info Menu
To access the Info menu in Word 2010 and later, simply click on the “File” tab located at the top left corner of the window. Once you’ve done that, you’ll see a list of options appear on the left side.
Select “Info” to view details about your document, including any protection settings that may be in place. This is your next step.
Step 3: Locate the Protect Document Option
In Word 2010 and later, locating the “Protect Document” option is vital for accessing a password-protected file. To find it, head to the “Info” section of the File menu.
Once you’re there, look for “Protect Document” and click on it. This step is significant as it leads you closer to unsealing your document and regaining access.
Step 4: Select “Restrict Editing”
After locating the “Protect Document” option, the next step involves selecting “Restrict Editing.” A submenu will appear, allowing you to scroll down and click on this option. This action opens up further settings related to document restrictions.
By selecting “Restrict Editing,” you prepare to adjust permissions, ensuring you’re ready to manage how others can interact with your password-protected Word file.
Step 5: Click “Stop Protection”
Now, it’s time to click “Stop Protection” to lift the restrictions on your document. You’ll notice a menu pop up on the right-hand side of the screen.
Simply select “Stop Protection” from this menu. This action allows you to access and edit your document freely, making it easier to work with your content without any hindrances.
Step 6: Enter the Password and Unlock the File
With the protection lifted from your document, you’re ready to access it. A window will prompt you for the password. Enter the correct strong password, and your document will be opened.
Once opened, you can freely make any changes you need. This step ensures you regain full control over your document, allowing for edits without any restrictions.
Using Word 2007 and Earlier
If you’re using Word 2007 or earlier, gaining access to a password-protected document is straightforward. First, you’ll need to:
Step 1: Open the Document and Enter the Password
To open a password-protected Word document in versions like Word 2007 and earlier, start by launching Microsoft Word. Next, locate and open the protected document.
When prompted, enter the password you’ve set for the file. Make sure to type it correctly, as passwords are case-sensitive. Once you’ve entered the correct password, you’ll gain access to your document.
Step 2: Select “Save As”
Now that you’ve successfully opened your password-protected Word document, it’s time to create a new copy. Click on the orange Office icon located in the top left corner of your screen.
From the dropdown menu, choose “Save As.” This action allows you to save the document under a different name or location, ensuring you can access it easily in the future.
Step 3: Access the Tools Menu
Accessing the Tools menu is essential for removing the password from your Word document in versions 2007 and earlier. Once the Save As window opens, look for the “Tools” option at the bottom.
Click on it and select “General Options.” This step allows you to modify the document’s settings before proceeding, ensuring you’re set to remove the password effectively.
Step 4: Remove the Password
Once you’re in the “General Options” window, it’s time to eliminate the password that’s protecting your document. Simply delete any text in the “Password to open” and “Password to modify” fields.
This action removes the password restrictions, allowing you to access and edit your file freely. Make sure to double-check that both fields are empty before proceeding.
Step 5: Save the Unlocked Document
With the password successfully removed, the next step is to save your accessible document. Click “OK” to confirm the changes, then choose “Save.” It’s a good idea to rename the file to avoid overwriting the original document.
This way, you preserve the locked version while keeping your freed copy for easy access. Your document is now ready for use!
Step 6: Open the Document Without a Password
To open your newly saved document without a password, simply locate the file on your computer and double-click it. Since you’ve removed the strong password, the document won’t prompt you for one.
You can now easily access and edit your content without any hassle. Enjoy working on your document freely, knowing your information is secure yet accessible.
Is it possible to open a password-protected Word document?
Ever wondered if it’s possible to access a password-protected Word document? The good news is, yes, it is!
You can gain access to these files without the password using a few methods. One effective approach is to convert the document into a Google Doc. Simply upload it to your Google Drive, and you may be able to access the content without needing a password.
Another option is converting the Word file into an XML document, which can sometimes strip away the password protection. If those methods don’t work, there are online password crackers designed to recover or bypass the password.
Secure Access Made Simple: Protecting Your Documents Without the Stress
To sum up, opening a password-protected Word document is straightforward, regardless of whether you are using Word 2010 or an earlier version. Remember, nearly 30% of people forget their passwords, so it’s crucial to use memorable yet secure passwords.
Keeping a backup of important documents can save you a lot of hassle. With these tips, you can easily access your files while maintaining their security. Just make sure you always remember your password!